In today’s fast-paced digital world, businesses are increasingly moving towards subscription-based models to generate consistent revenue streams. Whether you’re running a SaaS (Software as a Service) platform, a membership site, or a subscription box service, recurring billing is the backbone of your business. However, setting up and managing recurring payments can be overwhelming, especially if you’re new to online payments.

Fortunately, leading online payment platforms like Stripe, PayPal, Braintree, andAuthorize.net offer robust tools and features to simplify the process of setting up recurring billing. These platforms are designed to handle everything from payment processing to subscription management, ensuring a seamless experience for both you and your customers.
In this article, we’ll break down the steps to easily set up recurring billing features using today’s top online payment platforms. Whether you’re a small business owner or a tech-savvy entrepreneur, this guide will help you streamline your billing process and focus on growing your business.
Choosing the Right Online Payment Platform
The first step in setting up recurring billing is selecting the right online payment platform. With so many options available, it’s essential to choose one that aligns with your business needs. Consider the following factors when evaluating payment platforms:
Integration Capabilities: Look for platforms that offer easy integration with your existing software or website. Most platforms provide APIs (Application Programming Interfaces) that allow you to connect their services seamlessly.
Recurring Billing Features: Ensure the platform supports recurring payments and subscriptions. Some platforms offer built-in tools for managing subscription cycles, payment reminders, and automatic renewals.
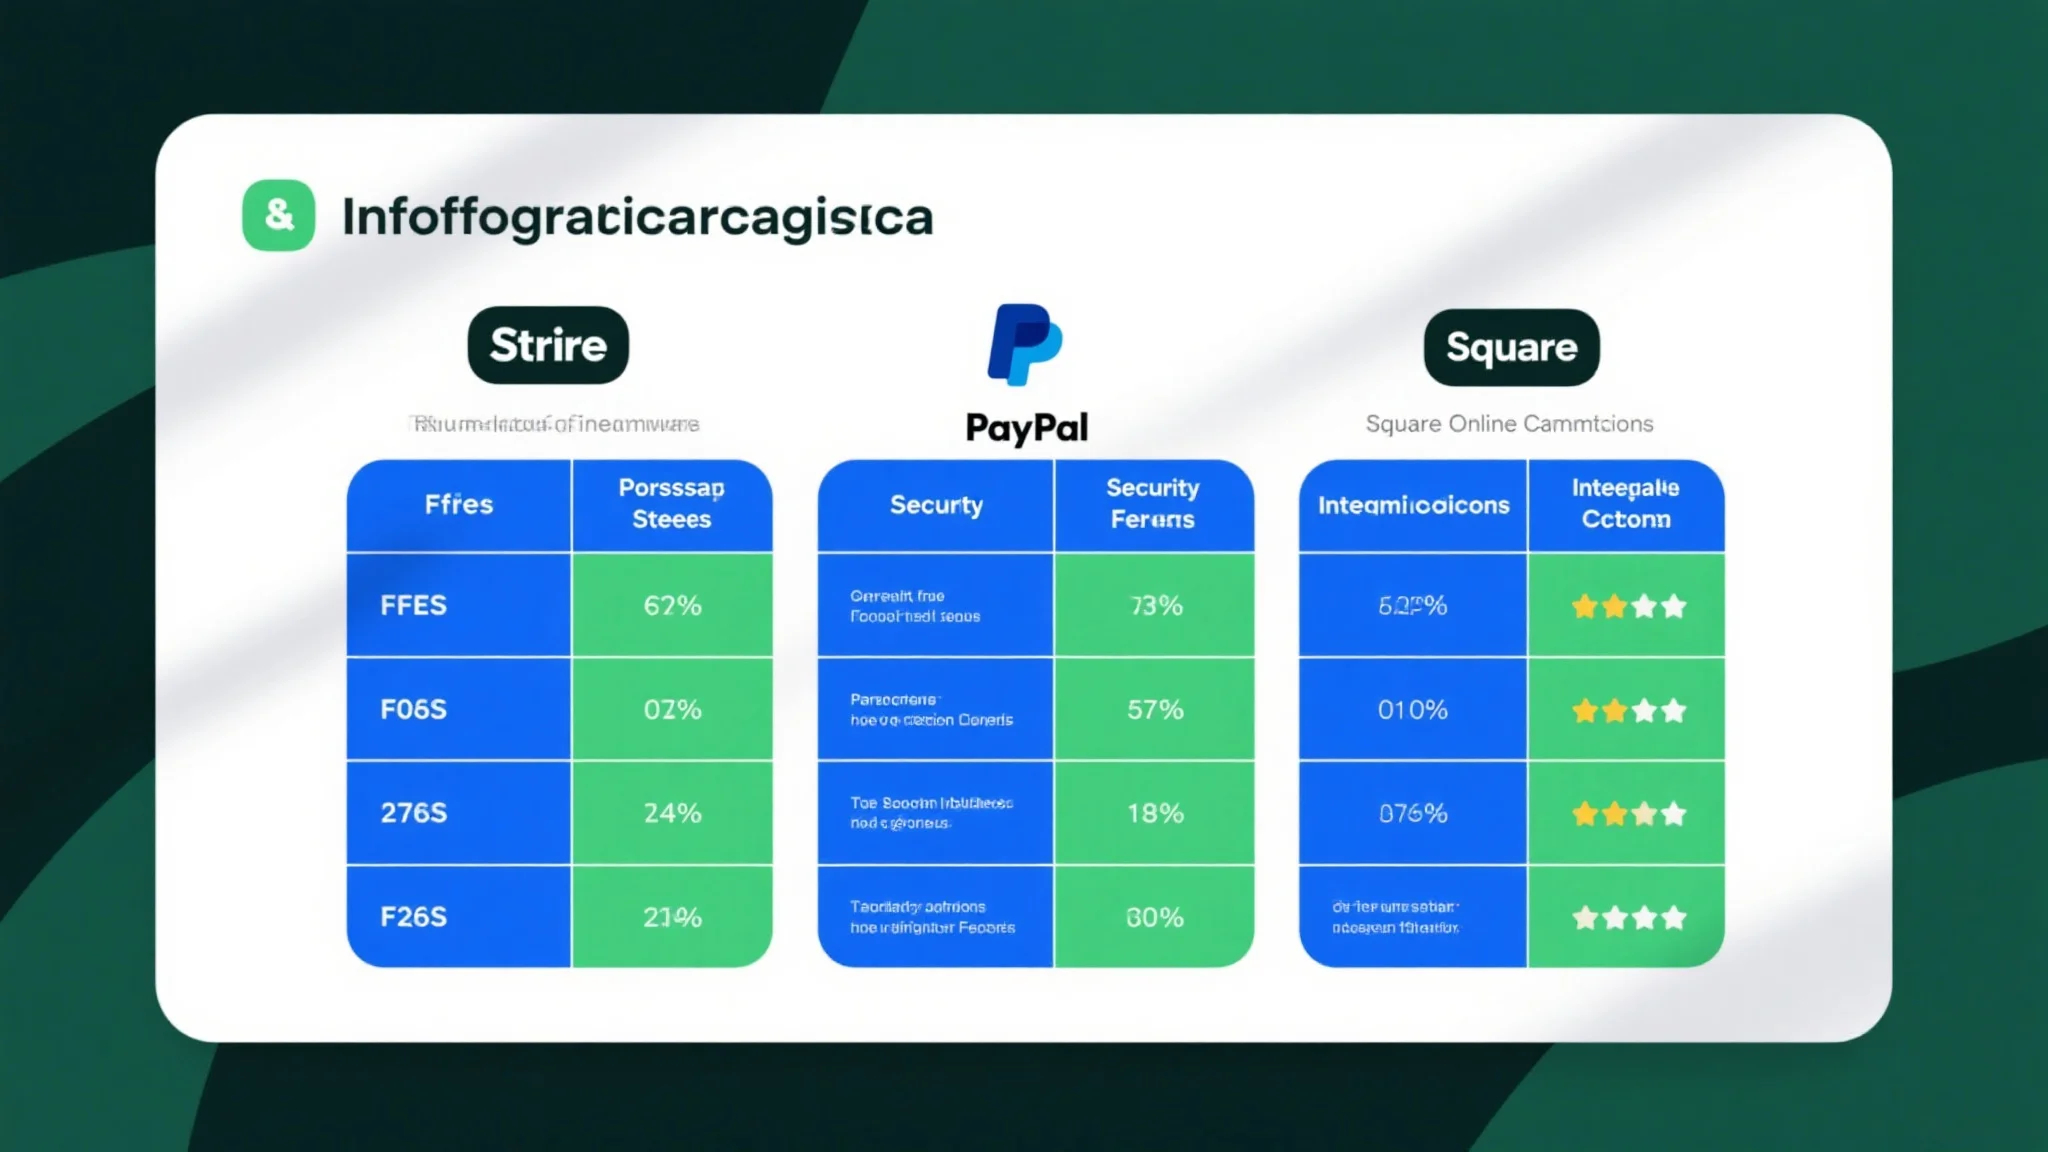
Security and Compliance: Payment security is non-negotiable. Choose a platform that adheres to industry standards like PCI DSS compliance and offers robust fraud protection.
Fees and Pricing: Compare the pricing models of different platforms. Most platforms charge a percentage of each transaction or a fixed fee per payment. Consider the total cost of ownership, including transaction fees, subscription costs, and any additional charges.
Scalability: As your business grows, you’ll need a payment platform that can scale with you. Look for platforms that can handle high transaction volumes and offer advanced features as your business expands.
Once you’ve shortlisted a few platforms, it’s time to dive into the setup process.
Setting Up Recurring Billing with Stripe
Stripe is one of the most popular online payment platforms for businesses of all sizes. Its intuitive interface, robust APIs, and comprehensive documentation make it an excellent choice for setting up recurring billing. Here’s how you can get started:
Create a Stripe Account: Visit the Stripe website and sign up for an account. You’ll need to provide basic business information, such as your company name, email address, and website URL.
Integrate Stripe into Your Website: Stripe offers a variety of integration options, including hosted checkout pages and custom APIs. For recurring billing, you’ll likely want to use Stripe’s API to integrate the payment form directly into your website.
Set Up Subscriptions: Once integrated, you can create subscription plans in your Stripe Dashboard. Define the subscription price, duration, and payment intervals (daily, weekly, monthly, or yearly).
Handle Payment Processing: Stripe automatically handles payment processing, including storing customer payment information and charging them at the specified intervals.
Monitor and Manage Subscriptions: Use Stripe’s dashboard to monitor subscription status, view payment history, and manage customer accounts. You can also set up automated emails for payment reminders and subscription renewals.
Stripe’s flexibility and ease of use make it a favorite among businesses looking to implement recurring billing.
Setting Up Recurring Billing with PayPal
PayPal is another leading online payment platform that’s widely accepted by businesses globally. While PayPal is known for its simplicity, it also offers powerful tools for managing recurring payments. Here’s how to set up recurring billing with PayPal:
Create a PayPal Business Account: Sign up for a PayPal Business account if you haven’t already. This account type is designed for businesses and provides access to advanced features like invoicing and subscription management.
Set Up Subscriptions: Navigate to the PayPal Subscriptions tab in your dashboard and create a new subscription plan. Define the price, duration, and payment frequency.
Integrate PayPal into Your Website: PayPal offers a variety of integration options, including a simple checkout button or a custom API. For recurring billing, you’ll need to integrate the PayPal API into your website.
Handle Payment Processing: PayPal automatically charges customers at the specified intervals and sends them payment receipts. You can also set up automatic payment reminders through your PayPal account.
Monitor and Manage Subscriptions: Use PayPal’s dashboard to track subscription status, view payment history, and manage customer accounts. You can also generate reports to analyze subscription performance.
PayPal’s widespread acceptance and user-friendly interface make it a great choice for businesses looking to simplify recurring billing.
Setting Up Recurring Billing with Braintree
Braintree is a payment platform that’s highly regarded for its security and flexibility. It’s a great option for businesses that need advanced features for managing recurring payments. Here’s how to set up recurring billing with Braintree:
Create a Braintree Account: Sign up for a Braintree account and complete the onboarding process. Braintree is known for its rigorous security standards, so you’ll need to provide detailed business information.
Integrate Braintree into Your Website: Braintree offers a variety of integration options, including a hosted checkout page and a custom API. For recurring billing, you’ll likely want to use the Braintree API to integrate the payment form directly into your website.
Set Up Subscriptions: Once integrated, you can create subscription plans in your Braintree Dashboard. Define the subscription price, duration, and payment intervals.
Handle Payment Processing: Braintree automatically charges customers at the specified intervals and provides detailed transaction records.
Monitor and Manage Subscriptions: Use Braintree’s dashboard to track subscription status, view payment history, and manage customer accounts. You can also set up automated emails for payment reminders and subscription renewals.
Braintree’s focus on security and flexibility makes it an excellent choice for businesses with complex billing needs.
Setting Up Recurring Billing with Authorize.net
Authorize.net is another reliable online payment platform that’s widely used by businesses for recurring billing. Here’s how to set up recurring billing with Authorize.net:
Create an Authorize.net Account: Sign up for an Authorize.net account and complete the verification process.
Integrate Authorize.net into Your Website: Authorize.net offers a variety of integration options, including a hosted checkout page and a custom API. For recurring billing, you’ll likely want to use the Authorize.net API to integrate the payment form directly into your website.
Set Up Subscriptions: Once integrated, you can create subscription plans in your Authorize.net Dashboard. Define the subscription price, duration, and payment intervals.
Handle Payment Processing: Authorize.net automatically charges customers at the specified intervals and provides detailed transaction records.
Monitor and Manage Subscriptions: Use Authorize.net’s dashboard to track subscription status, view payment history, and manage customer accounts. You can also set up automated emails for payment reminders and subscription renewals.
Authorize.net’s reliability and extensive feature set make it a trusted choice for businesses looking to implement recurring billing.
Best Practices for Managing Recurring Billing
Now that you’ve set up recurring billing with one of today’s leading online payment platforms, it’s important to adopt best practices to ensure smooth operations. Here are some tips:
Provide Clear Communication: Keep your customers informed about their subscription status, payment due dates, and renewal dates. Clear communication helps build trust and reduces the likelihood of payment issues.
Offer Flexible Cancellation Options: Allow customers to cancel their subscriptions easily. Provide a clear cancellation process and ensure that their payments are halted immediately or at the next billing cycle.
Monitor for Payment Failures: Set up alerts for failed payments and follow up with customers promptly. Offer alternative payment methods or assistance to resolve issues quickly.
Ensure Compliance: Stay updated on payment processing regulations and ensure that your platform complies with all relevant laws and standards.
Provide Excellent Customer Support: Offer multiple channels for customer support, such